Review, Approve and Share Media
We provide all our clients with access to their media projects as we work. See all versions of an edit, share them with your team and send us feedback for works in progress. All from one location. Continue reading for help using our cloud to review, approve and share your project versions and approved media packages.
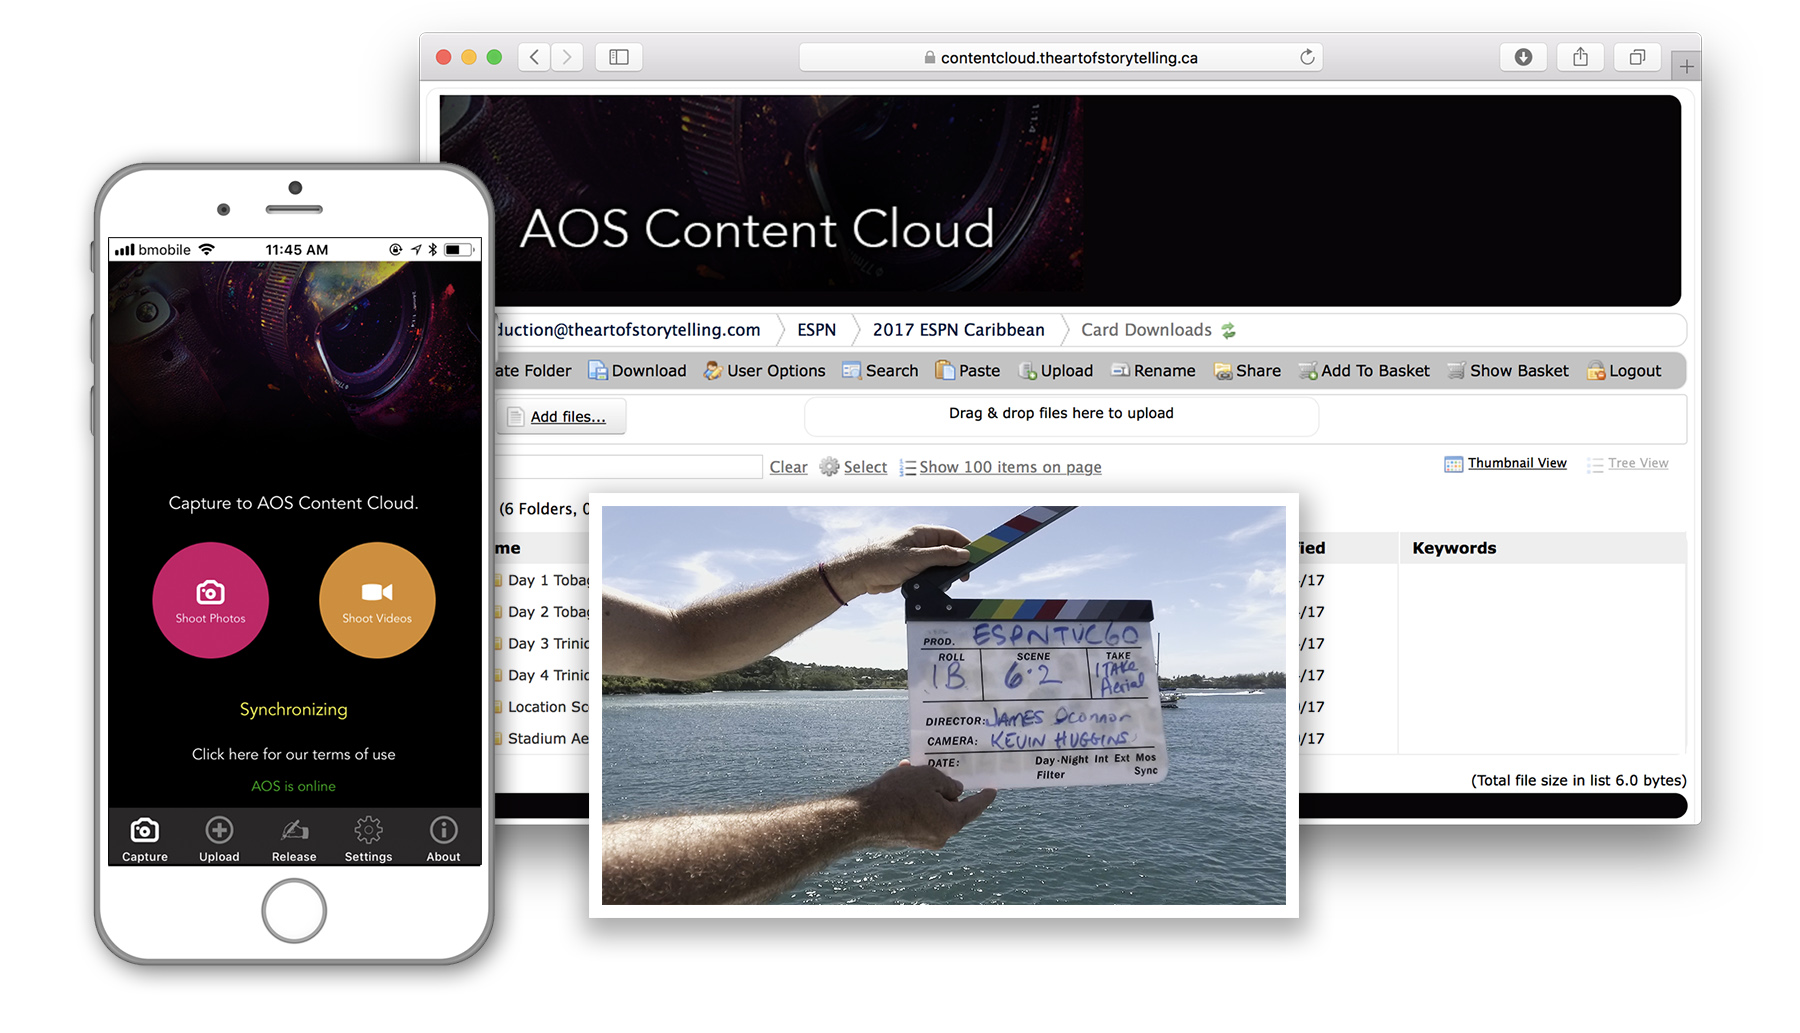
Upload content, review edits and share media with AOS Content Cloud.
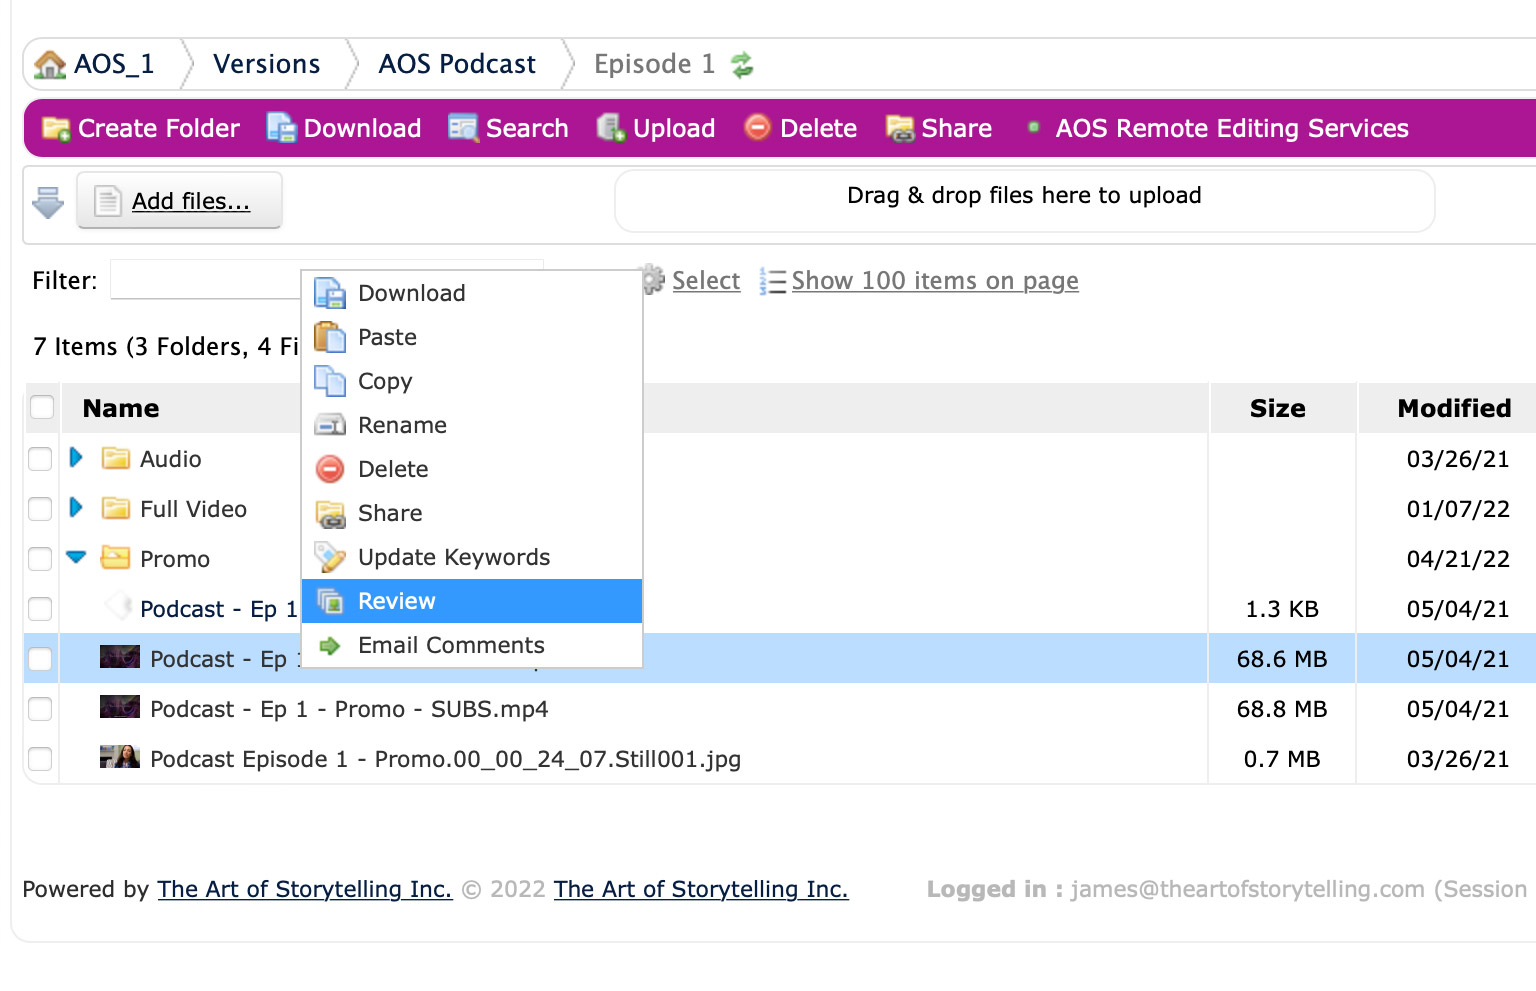
Right click on any file and choose “Review”.
Review Versions
At the start of a new project we will send you a link to your Versions folder. Bookmark that and share it with your team. Go there now, right click and choose “Review” to preview any video and photography version.
Our versions are easy to track because we include the date on every file we export. We use a reverse date (year-month-day eg: 2024-11-03) so that versions are displayed top to bottom when sorted alphanumerically.
You can also confirm which file is the latest version by clicking “Modified” to sort by date modified in that column.
Send Feedback
It’s easy to provide feedback on the latest version of any project. Right click on the file and choose “Email Comments” to launch your preferred email app and have your feedback saved in your sent mail.
When reviewing video it’s a good idea to note the time in the video you are referring to – we pretty good at interpreting feedback on our work so don’t hold back :-)
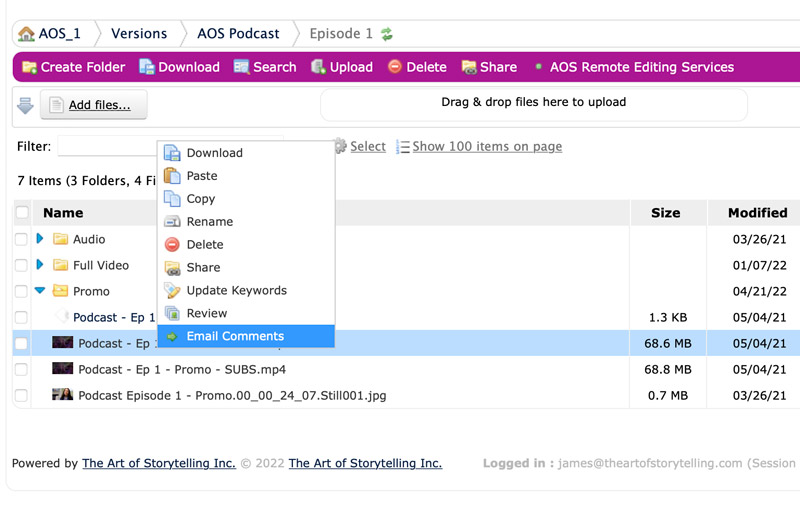
Right click and choose “Email Comments”.
| Package Elements | Description |
| Our Mission – 2020-05-23 CLEAN.mp4 | Video (.mp4) with no subtitles overlaid. |
| Our Mission – 2020-05-23.en_US.srt | Subtitles (.srt) to accompany the CLEAN video where supported (YouTube, Facebook). |
| Our Mission – 2020-05-23 SUBS.mp4 | Video (.mp4) with subtitles “burned in” permanently. |
| Our Mission – 2020-05-23 STALL.mp4 | Vertical video (.mp4) for instagram. Subtitles are overlaid by default. |
| Our Mission – 2020-05-23.txt | Text transcript (.txt) for web, SEO and print. |
| Our Mission – 2020-05-23.jpg | Still photography or video frame capture (.jpg) |
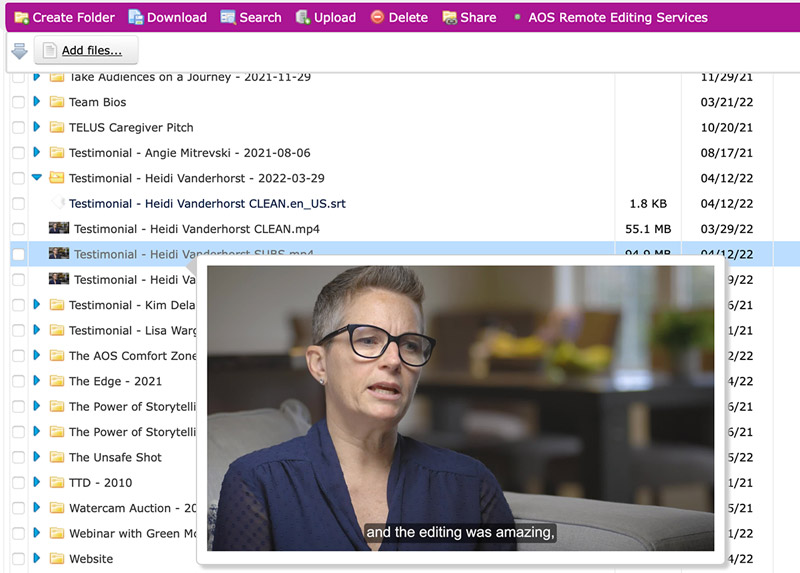
A “single” video edit is packaged with subtitles, screenshots and more.
Approved Media – Intelligently Packaged
Finished works are intuitively packaged with the appropriate elements for your next steps. A single video might comprise multiple versions for different platforms, subtitles, screenshots, text transcripts and more. We provide everything you need to move forward in a link to your Packages – another convenient page you should bookmark.
Oh, and you know how most subtitles on YouTube are just rung wrung wrong? We meticulously correct and supply generated subtitles so that they are readable, not distracting. Learn why here.
Using Subtitles in Social Media
We provide ‘sidecar’ .SRT files with every video containing dialogue. Uploading these .SRT files to your social media platforms allows users to turn subtitles on and off. Our .SRT files are far superior to auto-generated subtitles for accuracy and readability.
Start by uploading your video.
Once uploaded, click on the three dots (…) for more options and select “Edit Video.”
Under the “Captions” tab, select “Upload SRT” and choose your SRT file.
Don’t forget to turn off an automated subtitles or caotions that the platform is offering you.
Save your changes.
Upload your video to your YouTube channel.
Navigate to the “Video Details” section.
Under “Advanced Settings,” click on “Upload Subtitles/CC.”
Select “With File” and choose your SRT file.
Click “Upload.”
Don’t forget to turn off any automated subtitles or captions that YouTube is offering.
Go to your profile and tap on the “+,” then choose “Feed Video.”
After selecting your video, you’ll find the “Add Video Details” screen; tap on “Advanced Settings.”
Toggle on “Write Subtitles” and paste your SRT file’s content into the text box.
Don’t forget to turn off any automated subtitles or captions that Instagram is offering.
Compose a tweet and click on the “Add photos or video” option.
Select your video and click on the “Subtitle” button.
Don’t forget to turn off any automated subtitles or captions that X is offering.
Upload your SRT file and save changes.
Upload your video to your LinkedIn post.After the video is uploaded, click on the “Edit” button.
Under “Select File,” choose your SRT file for subtitles.
Don’t forget to turn off any automated subtitles or captions that LinkedIn is offering.
A “single” video edit is packaged with subtitles, screenshots and more.
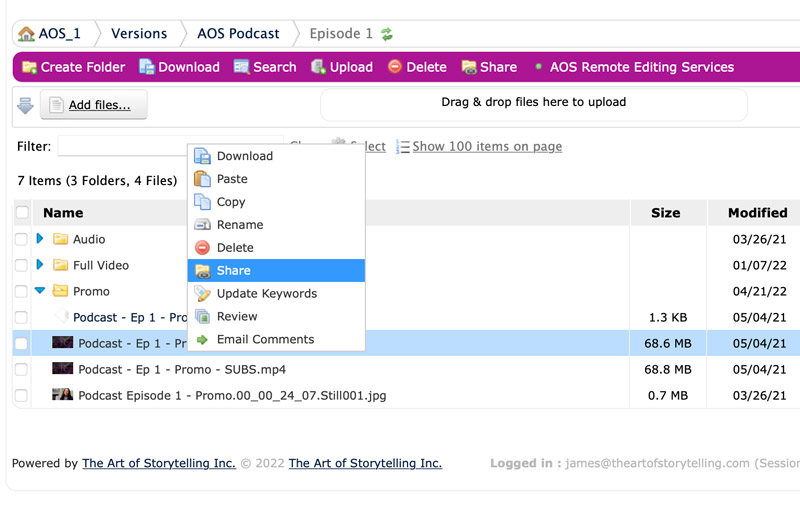
Right click to share media.
Share With Anyone
Colleagues, social media managers, news media… share approved content with any stakeholder. Siimply right click and choose “Share”. Copy the resulting link and send it by any means you prefer.
Note: external shares expire after 365 days.
1 Year Storage and Support
Video files are huge: one 5min HD video with “high quality YouTube” settings is ~600mb and we’ve seen some media packages grow to be many hundreds of gigabytes. So for the duration of your production – plus a minimum of one year beyond completion of the last edit – we provide you with unlimited cloud storage space at no cost.
For assistance distributing your media please email support@theartofstorytelling.com.
AOS Content Cloud provides you with unlimited storage for 1 year.
